How to Build a Simple Raised Garden Bed.
Start building this easy and fast raised garden bed for Spring planting season. For this raised garden bed, we used:
- 8 6×6 4′ rough sawn cedar
- 1 pak 5# 10″ galvanized spikes
- 8 pieces 1/2″x18″ rebar
Some of the benefits of a raised garden bed are:
- Less weeds
- Better water retention in areas that have super-sandy soil
- Better drainage in areas with clay soils
- More growing space
- No soil compaction from human feet
- Warmer soil earlier in the season
- Warmer soil for a longer growing season
Step-By-Step Instructions For Building a Raised Garden Bed.
1. Start with as flat a trench or area as possible. Being level is the key. Add dirt, scrape dirt away to fully provide a good surface for the timber. Pound dirt compactly to avoid settling that will cause “un-leveling.”
TIP: WATCH FOR BURIED UTILITIES!
2. Set the first timber.
TIP: Pre-drilling the holes for rebar will avoid upsetting your placement – even starting rebar into the timber helps and gives you convenient handles to move the timber while placing and leveling.

3. Continue with the 2nd, 3rd and timbers similarly, making sure all remain level.
TIP: We suggest not pounding the rebar in all the way until all pieces are in place. you could pry the timber up if necessary.

4. Measure the diagonal to verify the square is truly square. Then final setting of the rebar.

5. Then it’s as simple as adding additional layers, we used spikes (alternatively, there are long timber screw products available. Overlapping the ends lincoln-log style to lock each succeeding layers into one unified structure. Make sure you’re not un-leveling the timbers during assembly.

6. Put in three spikes – one into the end to pin in the end of the one below. The other two into the layer below.
TIP: We used two layers of 6×6’s. This provides a height where you can easily kneel onto a wide enough surface for balance. You can struct as high as you want. We kept simple, inexpensive and minimized the amount of fill dirt required.
In just about an hour you’ll have a great raised garden bed!

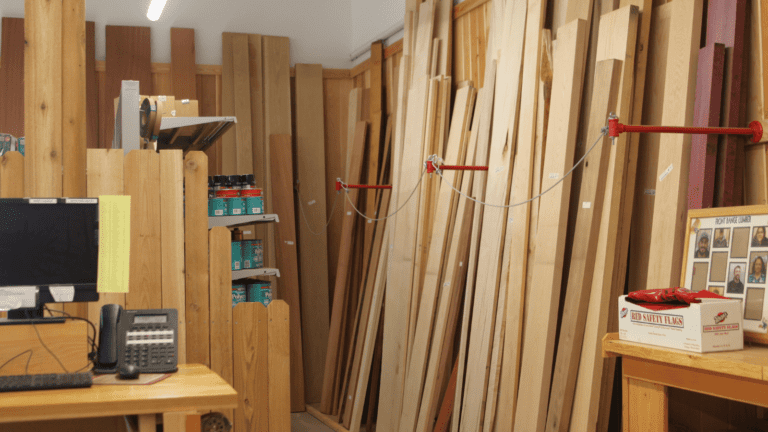
Find out everything you need to know about cedar lumber here: Cedar Lumber Product Information.
We Deliver From our Lakewood and Fort Lupton Locations!
Place your order today to start building this easy and fast raised garden bed.